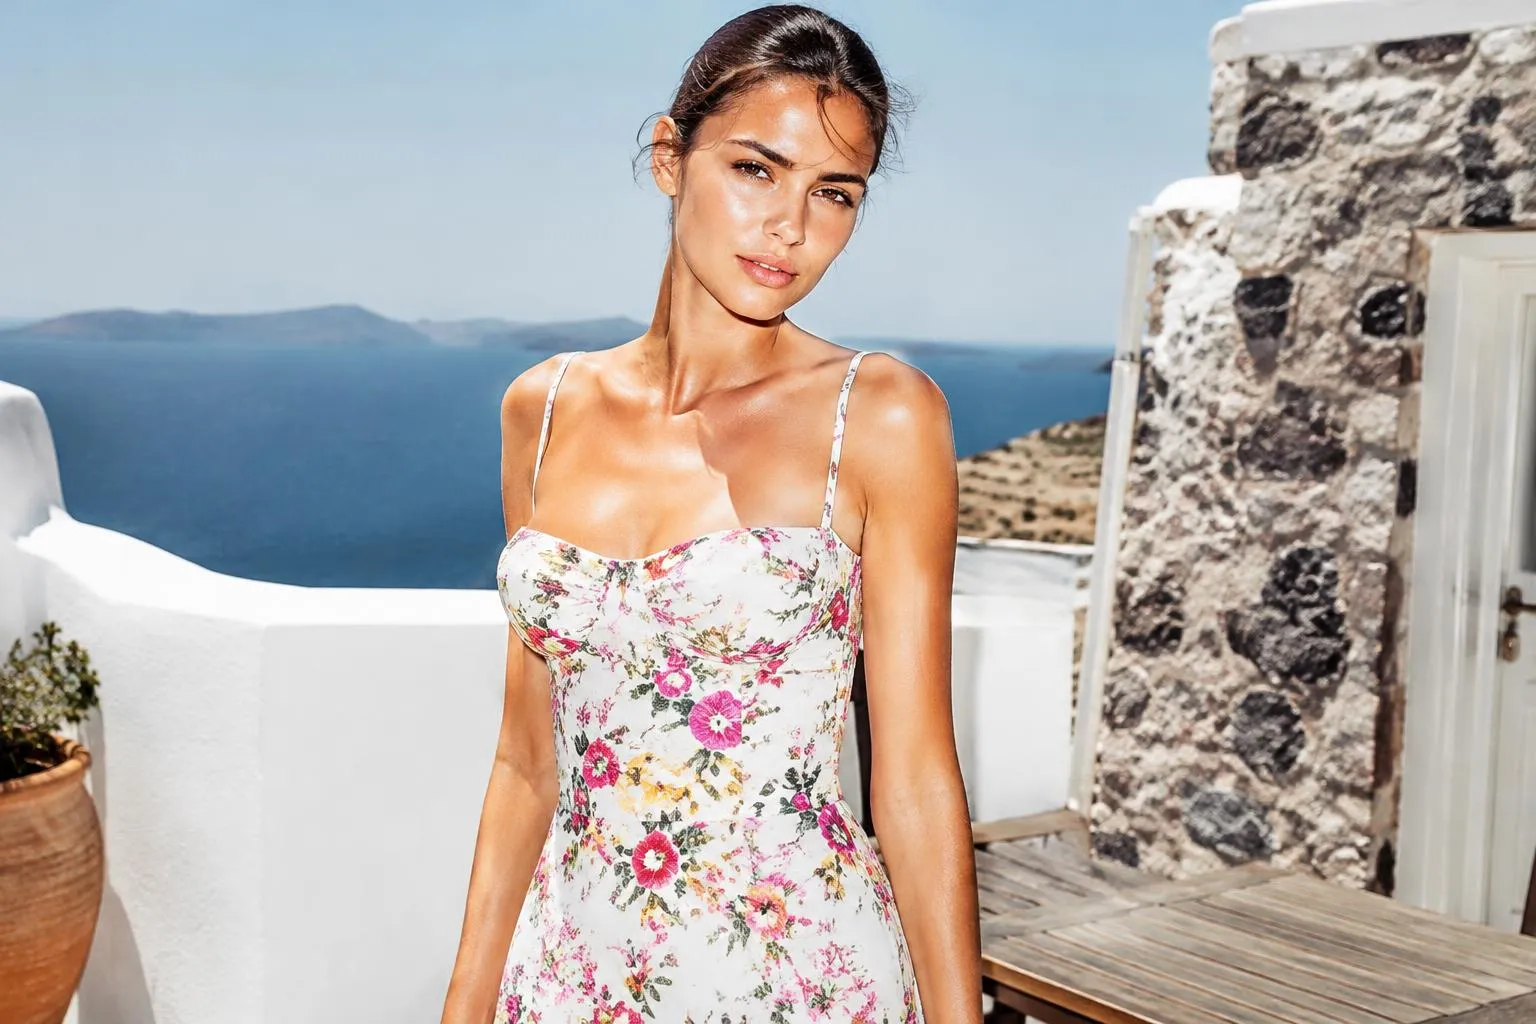
The slick back bun is the hairstyle that looks expensive without trying. Smooth sides, a clean part or no part at all, and a tidy knot at the crown or nape: that is the whole recipe. It suits workdays, gym bags, weddings and red carpets, and it is the base look for what social media calls the clean girl bun.
This guide shows you how to make a slicked back bun that actually stays smooth, from the products that give hold without crunch to the placement that suits your face. You will find step-by-step instructions, variations for different hair types and lengths, and fixes for the problems that tend to ruin the finish.
What makes a slick-back bun look polished
Three things separate a polished slick-back bun from a rushed one.
- Smoothness: no flyaways, bumps or visible comb lines at the hairline.
- Placement: the bun sits where it flatters your face and head shape.
- Tension that looks comfortable: a tight pull can be elegant, but it should not look painful or stretch the hairline.
Everything else, such as the hair tie, the accessories and the parting, is a variation on those three.
What you need
A short kit does the job.
- A fine-tooth comb or paddle brush
- A soft-bristle brush, or an old clean toothbrush, for edges
- A strong, seamless elastic or two
- Bobby pins that match your hair color
- A smoothing product: gel, edge control, pomade or a styling cream
- A light, flexible hairspray
- A shine serum for the finish
- Optional: a hair donut or sock bun form, a satin scrunchie or a claw clip
Product choice depends on your texture. Gel gives the strongest hold, pomade gives shine with more flexibility, and cream suits fine or fragile hair that needs gentle control.
How to make a slicked back bun, step by step
1. Start with the right base
Slick styles hold best on hair that is clean but not squeaky, or on second-day hair. If your hair is very fine and slippery, a bit of texturizing spray at the roots gives grip. If it is frizzy, apply a smoothing cream to damp hair first.
2. Decide on the part
- Center part: symmetrical and classic.
- Side part: softer, and flattering if you have an asymmetrical face or a cowlick.
- No part: combed straight back for the sleekest, most dramatic effect.
3. Apply product
Work a small amount of gel or pomade through the front and sides, from the hairline back. Start with a pea-sized dab; you can always add more.
4. Smooth and gather
Using a comb or paddle brush, sweep the hair back and up to the placement of your choice. Hold the ponytail firmly at the base with one hand while you smooth the surface with the other.
5. Secure with an elastic
Wrap a strong elastic around the base. Use a second one for extra security if your hair is slippery or heavy.
6. Shape the bun
Twist the ponytail and wrap it around the base, tucking the end under. Pin it in place with bobby pins, inserting them in the opposite direction from the way the hair wraps. For a tighter, ballet-style bun, wrap in a tight spiral. For a looser look, wrap more gently.
7. Tame the flyaways
Brush a little product along the hairline and over the surface with a soft brush, then finish with a light mist of hairspray. A shine serum on the surface adds gloss.
Where to place the bun
Placement changes the entire mood.
| Placement | Effect | Best for |
|---|---|---|
| High (crown) | Lifted, energetic, face-lifting | Round faces, workouts, bold looks |
| Mid | Balanced and classic | Most face shapes, everyday wear |
| Low (nape) | Soft, elegant, formal | Weddings, evenings, long necks |
| Off-center low | Romantic, relaxed | Casual events, softer faces |
If you are unsure, hold your ponytail in different places in the mirror before you commit.
Slick back bun variations
The high sleek bun
A tight, high bun with a polished surface. It lifts the face and shows cheekbones, which makes it a good match for sunglasses and statement earrings.
The low sleek bun
Sits at the nape. It is understated and elegant and works with formal wear. A center part gives it a classic look.
The bun with a side part
A deep side part with a smooth sweep across the forehead adds softness and drama.
The braided bun
Braid the ponytail before wrapping it for texture. It also helps thin hair look fuller.
The twisted bun
Twist the ponytail and wrap it in a spiral for a sculptural knot that stays neat.
The bun with a claw clip or scarf
Wrap a silk scarf around the base or secure the bun with a claw clip for a more casual variant that still reads as tidy.
Slick back bun for different hair types
Straight hair
Straight hair slicks beautifully but may slip. Texturize the ponytail with a bit of dry shampoo or texturizing spray before wrapping, and use more pins.
Wavy hair
Waves can resist smoothing. Use a stronger gel on the surface and brush from roots to ends with a boar-bristle brush.
Curly and coily hair
For curly and coily textures, a slicked bun can be created on defined curls with gel, or on stretched hair. Use edge control at the hairline. A satin scarf worn overnight helps keep the surface smooth.
Fine or thin hair
Use lightweight products to avoid a greasy look, add volume with a bun donut and consider a low placement that looks fuller.
Thick hair
Thick hair can need two elastics and extra pins. Dividing the ponytail in half and wrapping each half creates a neat, balanced knot.
Slicked back bun for shorter and longer lengths
Hair that reaches the shoulders can be pulled into a small, low bun or a mini knot. If your hair is shorter, consider a half-up version or take a look at our edit of hairstyles for short hair for sleek alternatives. If you have a layered cut such as a wolf cut, expect shorter pieces to escape; use pins, a bit of wax and a clip to control them.
For longer hair, a big bun is easy to create, and our ideas for hairstyles for long hair show other ways to use length. If you prefer something softer, the messy bun is the relaxed cousin of this style.
Common problems and how to fix them
- Flyaways at the hairline: apply a tiny amount of gel on a toothbrush and smooth.
- Bumps in the ponytail: brush upside down first, then lift to the position and smooth again.
- Bun slipping: use a stronger elastic and pin through the base of the bun, not just the outside.
- Greasy look: use less product, or choose a lighter formula.
- Headache from tightness: loosen the elastic slightly; a polished bun does not need to cause discomfort.
- Hair tie breakage: use snag-free elastics and avoid pulling the same section tight day after day.
Protecting your hair and hairline
A slick, tight style is gentle only if it is not worn too tight, too often. Repeated tension on the same part of the hairline can contribute to breakage over time, so vary your parting and placement and keep the pull comfortable. Remove the style before bed, and brush gently from the ends upward. If you notice persistent thinning or scalp discomfort, consult a dermatologist.
Frequently asked questions
How do I make a slicked back bun without frizz?
Start with a smoothing cream on damp hair, then use gel or pomade on the surface. Brush the hair into the ponytail with a soft-bristle brush and finish with a light hairspray and a drop of shine serum.
What is a clean girl bun?
It is a sleek, minimal bun with smooth sides and a tidy finish, often worn high or low. It is essentially a slicked back bun styled to look effortless and polished.
Which product is best for a slick bun?
Gel gives the firmest hold, pomade adds shine and flexibility, and a styling cream is best for fine hair. Choose according to your texture and how long you need the style to last.
Can I do a slick back bun on short hair?
If your hair reaches your chin or longer, you can often create a mini bun or half-up version. Use pins, gel and a small elastic to hold shorter lengths.
Final thoughts
The slick back bun is simple, but small details decide the finish: the right product, the right placement and a comfortable amount of tension. Practice once on a quiet morning, and it will be a reliable go-to for years. For more cuts, colors and styling guides, browse the full Hair section.