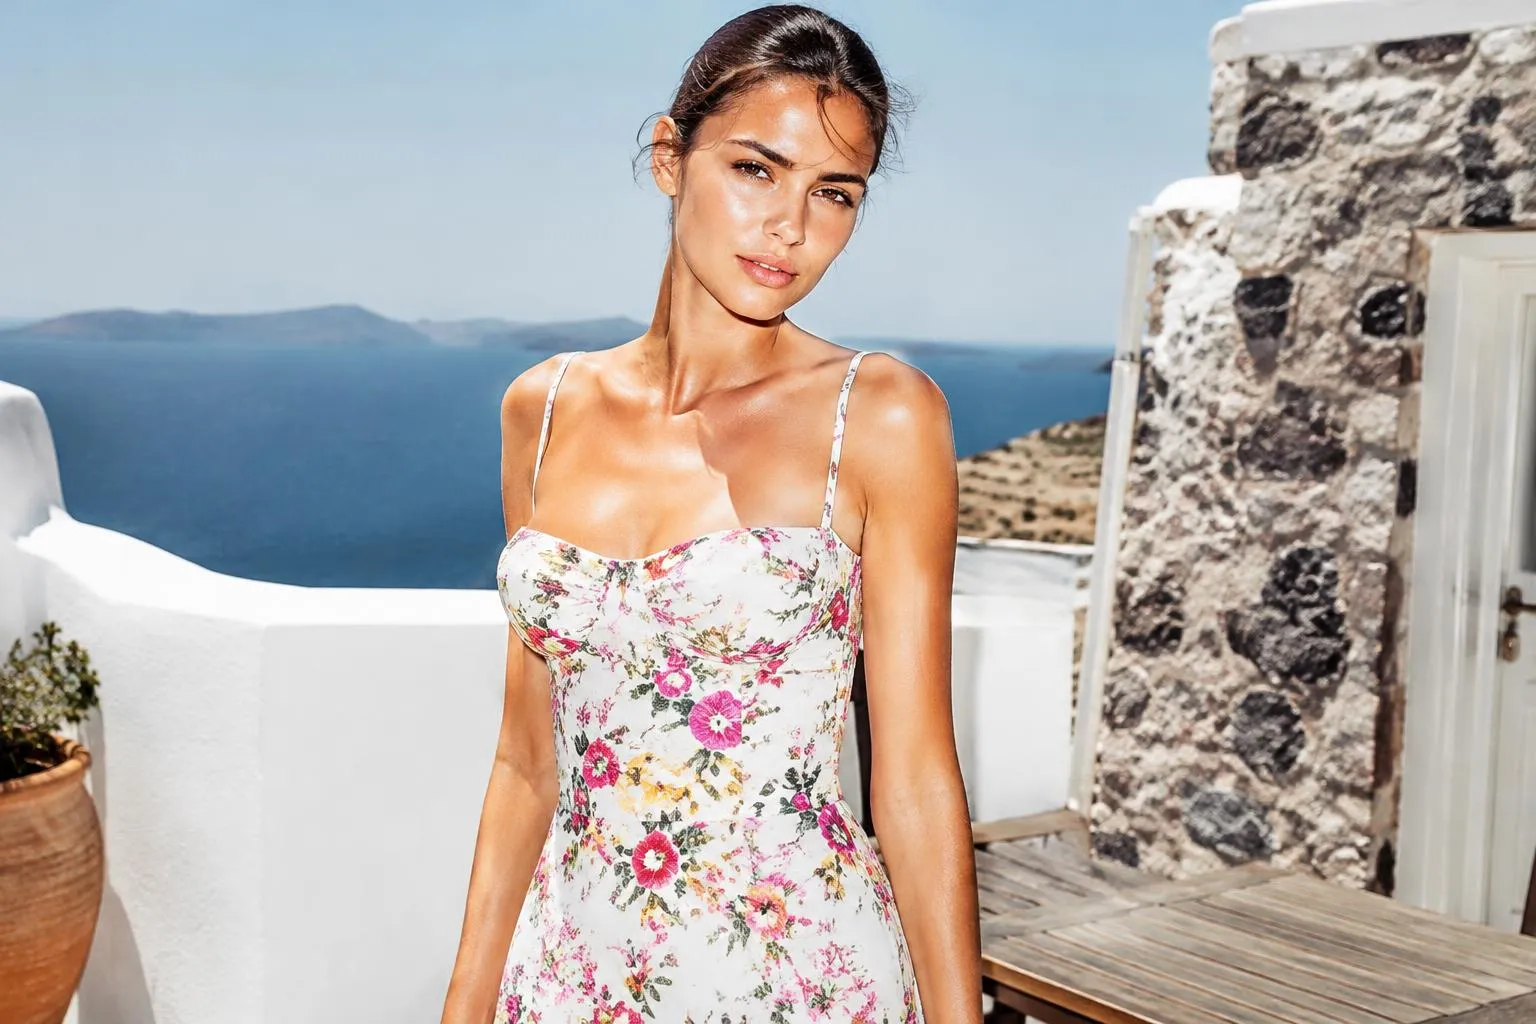
The messy bun looks like it took thirty seconds. Sometimes it did. More often, the version that looks effortless all day relies on a few small techniques that keep it full, secure and flattering rather than lopsided or limp.
This guide breaks down exactly how to do a messy bun that holds, whatever your hair length or texture. You will find a step-by-step messy bun tutorial, several variations from high and voluminous to low and romantic, fixes for common problems and ideas for dressing it up for work or evenings.
If you have ever ended up with a bun that collapses by noon or sits awkwardly on one side, the tips below will help.
Why the messy bun works
A messy bun is one of the most versatile updos there is. It takes little time, needs very few tools and suits nearly every occasion, from the gym to dinner. It is also forgiving: imperfections are part of the look.
It works well when:
- Your hair is on its second or third day and needs to be tucked away.
- You want hair off your neck in hot weather.
- You need a quick, polished-enough look for work.
- You want to show off earrings or a neckline.
The difference between a great messy bun and a sloppy one comes down to grip, placement and finishing.
What you need
You do not need much, but the right basics help:
- A snag-free elastic or scrunchie
- Bobby pins that match your hair color
- Texture spray, dry shampoo or sea salt spray
- A light-hold hairspray
- Optional: a claw clip or decorative pin for styling
Prep makes the difference
Freshly washed, silky hair tends to slip out of a bun. If your hair is clean, add texture spray or dry shampoo at the roots and through the lengths. Gently tousle with your fingers to create grip. For fine hair, teasing the crown slightly before gathering adds volume and hold.
Messy bun tutorial: the classic step by step
This is the version that works for most people with shoulder-length hair or longer.
- Flip your head forward and finger-comb your hair toward the crown. This keeps it from looking too smooth.
- Gather your hair loosely where you want the bun to sit. For a classic look, aim for the crown or slightly behind it.
- Secure with an elastic, but on the final loop, only pull the hair halfway through. You now have a loop with ends sticking out.
- Spread the loop gently to make it wider and flatter.
- Wrap the loose ends around the base of the bun and pin them in place.
- Pull at the edges of the bun to loosen and enlarge it. Pinch small sections for texture.
- Pull out a few face-framing strands at the temples or behind the ears.
- Pin any loose sections with bobby pins pushed into the base of the bun.
- Finish with a light mist of hairspray to hold shape without stiffness.
The twist-and-wrap method
For long or thick hair, this version creates a fuller, more secure bun.
- Make a ponytail where you want the bun.
- Twist the ponytail until it starts to coil on itself.
- Wrap it around the base.
- Secure with a second elastic or several bobby pins.
- Loosen gently with your fingers and pull out face-framing pieces.
Messy bun variations
High messy bun
Positioned on top of the head, this version adds height and has a playful, energetic feel. It works well for workouts, casual weekends and showing off a long neck. Flip your head upside down while gathering to keep hair smooth underneath.
Low messy bun
Sitting at the nape of the neck, the low messy bun feels more refined and romantic. It is ideal for work, weddings and evenings. Leave out a few soft strands around the face and add a decorative pin. If you want the polished opposite of this look, a smooth, sculpted slick back bun is the sleek alternative.
Half-up messy bun
Gather only the top section of hair into a small bun at the crown and leave the rest down. It keeps hair out of your face while showing off length and waves.
Braided messy bun
Braid your ponytail before wrapping it into a bun. Pancake the braid by pulling at its edges first. It adds texture and holds well.
Messy bun with a claw clip
Twist hair upward and secure it with a claw clip, letting the ends spill over. Technically a twist rather than a bun, but it delivers the same relaxed effect in seconds.
Double messy buns
Split hair down the middle and make two small buns on either side of the crown. They are fun for festivals, casual weekends and summer days.
Easy bun with a scrunchie
Use a scrunchie in place of the final elastic loop for a softer, more relaxed finish. Fabric scrunchies are also gentler on hair.
Messy bun ideas by hair type and length
Long hair
Long hair can make buns heavy. Use the twist-and-wrap method, larger pins or U-shaped hairpins, and position the bun slightly lower for stability. For more styles that work at this length, see our guide to hairstyles for long hair.
Medium hair
Shoulder-length hair is perfect for the classic loop method. If pieces fall out at the nape, pin them up or let them hang loose for a relaxed look.
Short hair
A full bun may not be possible with chin-length hair, but a mini half-up bun works well. Gather just the top section into a small knot and pin the shorter strands around it. Our guide to hairstyles for short hair has more ideas for shorter lengths.
Layered hair
Layers often escape from buns. Work with them by leaving shorter pieces out as face framers, or use a few pins to tuck them loosely. Heavily layered cuts such as a wolf cut suit half-up buns that let the layers show.
Fine hair
Prep with texture spray and tease the base of the ponytail. Pancake the bun generously to make it appear fuller. A small bun donut hidden underneath can add volume if needed.
Thick hair
Use a strong elastic and the twist method. Section the hair if needed, making two smaller twists and wrapping them together for a fuller bun.
Curly hair
Curly hair is ideal for messy buns. Gather curls into a loose high bun, sometimes called a pineapple, and secure with a scrunchie. Avoid brushing dry curls, which causes frizz.
How to dress up a messy bun
A messy bun can move from casual to polished with a few small changes.
- Smooth the hairline: Use a little cream or gel around the edges for a sleeker frame.
- Add an accessory: Silk scarves, velvet bows, pearl pins or a simple metal barrette instantly elevate the look.
- Soften face-framing strands: Curl loose pieces with a wand or twist them around your finger.
- Position it lower: Low buns read as more formal.
- Add shine: A few drops of serum on the bun and loose pieces give a polished finish.
Common messy bun problems and fixes
| Problem | Likely cause | Fix |
|---|---|---|
| Bun falls out | Hair too clean or slippery | Add texture spray or dry shampoo before styling |
| Bun looks flat | Not enough pancaking | Gently pull at the edges to enlarge it |
| Bun feels heavy | Too much hair or too high | Lower the position or use the twist method |
| Bun looks lopsided | Gathered unevenly | Use a mirror to check placement before securing |
| Headache from bun | Elastic too tight | Use a scrunchie or claw clip and loosen tension |
| Too many flyaways | Dry or frizzy hair | Smooth with a little cream or serum |
Practical notes on hair health
- Avoid wearing your bun in the exact same spot every day. Shifting position reduces tension and breakage.
- Swap rubber bands for snag-free elastics or scrunchies.
- Do not sleep in a tight bun. Loosen it or switch to a loose braid at night.
- If you notice thinning around the hairline, ease up on tight styles and consult a dermatologist if it continues.
Frequently asked questions
How do I make a messy bun stay all day?
Prep your hair with texture spray or dry shampoo for grip, secure the base tightly with a quality elastic and pin into the base of the bun rather than its surface. A light mist of hairspray at the end helps it hold its shape.
Can I do a messy bun with short hair?
Yes, as long as your hair reaches your chin or longer. A half-up mini bun at the crown is usually easiest. Use bobby pins to secure shorter pieces that fall out.
What is the difference between a messy bun and a topknot?
A topknot is usually a neater, rounder bun positioned on top of the head. A messy bun is looser and more textured and can sit anywhere from the crown to the nape.
How do I make my messy bun look bigger?
Gently pull at the edges of the bun to spread it out, tease the ponytail before wrapping and use texture spray for volume. A hidden bun donut can add extra fullness for fine or thin hair.
Is a messy bun appropriate for work?
A low, neat messy bun with smooth edges and minimal flyaways looks polished in most work settings. Add a simple accessory or keep it understated depending on your workplace.
The effortless finish
The best messy bun looks spontaneous but is built on smart prep and secure pinning. Add grip, choose the right height and loosen the shape until it suits you. Once you have the basics, you will reach for this easy bun again and again. For more hairstyle ideas and care tips, explore our full Hair section.