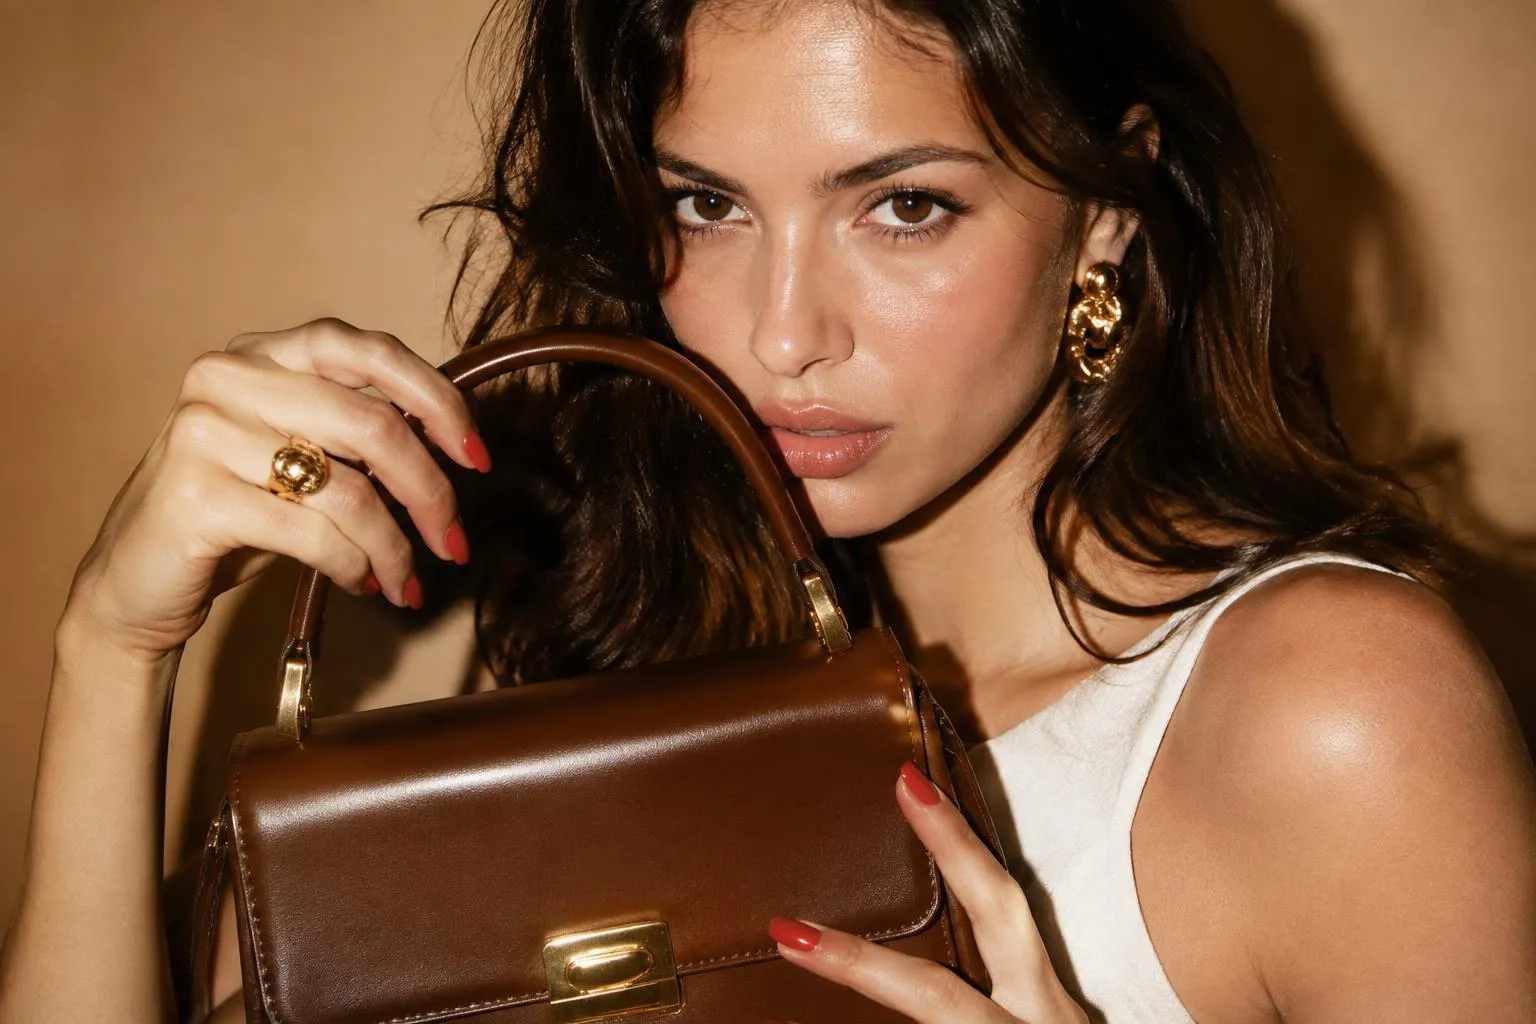
Red lipstick is one of the few makeup products that works almost like an accessory. A red lip can make a plain outfit look intentional, turn a simple face into an evening look and give a very small amount of makeup a sense of occasion. The challenge is choosing the right red and balancing the rest of the face.
This guide walks you through finding your shade, applying it neatly and building a red lipstick makeup look that suits your style, from minimal to dramatic. If you've wondered about red lip makeup or how to do makeup with red lipstick without it feeling like too much, you'll find practical answers here.
Finding the Right Red
There is no single red that suits everyone, but there is a red that suits you. Start by looking at two things: undertone and depth.
- Blue-based reds (cherry, raspberry, cool crimson) have a pink or purple tint. They make teeth appear whiter and often flatter cool or neutral undertones.
- Orange-based reds (tomato, coral-red, brick) are warmer and suit warm or golden undertones.
- True reds sit in the middle and are the most universal.
- Deep reds (wine, burgundy, oxblood) feel softer and more modern, and are often easy on deeper skin tones and for those who like a less stark look.
To test a shade, apply it to your lips, not your hand, and look in natural daylight. Check how it looks next to your skin, your teeth and your hair. If you are unsure, start with a true red or a red with a slightly brown depth, and adjust from there.
Finish matters as much as color
- Matte: long-wearing and graphic, but can feel drying. Prep lips well.
- Satin or cream: comfortable, with a little light. A good all-round choice.
- Gloss or sheer: forgiving and modern. Easy to apply without a mirror.
- Stain or tint: soft, buildable and low-maintenance, though less intense.
Step-by-Step: Applying Red Lipstick
1. Prep the lips
Gently exfoliate if your lips are flaky, using a soft washcloth or a mild lip scrub. Apply a thin layer of lip balm and let it absorb for a few minutes, then blot off the excess. Lips should be smooth, not slippery.
2. Prep the face
Red lips draw attention, so even skin helps. Apply a light base and conceal around the mouth if there is redness. Make sure there is no excess powder around the lips, which can look dry.
3. Line the lips
Use a lip liner close to the lipstick shade. Start at the cupid's bow, outline the upper lip, then the lower lip, connecting at the corners. Follow your natural lip line, or go just slightly outside it if you want a little fullness. Fill in the lips with the liner. This creates a base that helps the lipstick last.
4. Apply the lipstick
Apply lipstick from the bullet or with a lip brush for more precision. Start from the center and work outward. Blot with a tissue, and apply a second thin layer.
5. Clean the edges
Use a small brush with concealer, or a cotton swab, to clean around the edges. This sharpens the shape.
6. Check teeth and set
Place a finger in your mouth and pull it out to remove any lipstick that would end up on your teeth. If you want extra staying power, blot with a tissue and dust a tiny bit of translucent powder through it.
Red Lipstick Makeup Looks
Classic: red lips, clean skin
Even skin, groomed brows, black mascara and a defined red lip. A thin black or brown line along the upper lash line is optional. This is the traditional approach and works for evenings and special events.
Minimal: red lips, no other makeup
Skin prep, a bit of concealer, brushed-up brows and a red lip. Skip eyeshadow and blush. It looks relaxed and effortless for daytime.
Soft stain
Press the lipstick into the lips with a finger, blot, and blend the edges. The effect is a soft, diffused red that looks natural and takes less precision. It pairs well with a natural makeup look for work or casual days.
Red lips with a wing
A thin black winged eyeliner pairs with red lips for a retro, polished style. Keep the lashes and brows clean so it doesn't feel heavy.
Red lips with warm neutrals
Soft bronze or champagne on the lids and a peach blush complement orange-based reds. If you like the idea of warm tones, our bronze makeup look provides a good base.
Evening glam
Add soft, smoky brown eyeshadow, defined lashes and a touch of highlighter. If you want to add an eye focus to the look, the soft glam makeup approach pairs well with a red lip. Pick either an intense eye or an intense lip, rather than both at maximum.
Balancing the Face
Red lips are strong, so make one decision for the rest of the face.
- Skin: keep it fresh and even rather than heavily covered.
- Eyes: neutral shades, a single wash of color, or a thin line of liner.
- Brows: groomed and defined; red lips can make sparse brows look more noticeable.
- Cheeks: a soft blush in peach, rose or a muted pink. Avoid a very bright blush that competes with the lipstick.
- Hair and clothing: red looks sharp against black, white, navy, denim and neutrals. It can also look striking with other warm tones when you choose shades carefully.
If you prefer a gentler overall result, the barely-there base from our no-makeup makeup guide is an excellent partner for a red lip.
Matching Red Lips to Your Outfit and Occasion
Red is easiest to wear when the occasion and the outfit agree with it.
- Office: a satin or cream red in a wearable depth, with clean skin and neat brows. Blot well so it looks refined.
- Casual daytime: a sheer stain pressed on with a fingertip, with jeans, a white tee or a striped top.
- Dinner or party: a defined matte or satin red with a black dress, a tailored blazer or a simple knit.
- Weddings and events: pick a red that sits comfortably with your clothing colors, and check it in the lighting you will be in. A long-wear formula helps through meals and photographs.
- Holiday season: deeper reds like wine and berry suit cozy knits, velvet and darker palettes.
Because the lips are the focus, jewelry and hair can stay simple. A small pair of earrings and a sleek hairstyle keep the attention on the color.
Making Red Last
- Layer thin coats: two thin layers last longer than one thick one.
- Blot between layers: removes excess oil and sets pigment.
- Choose longer-wearing formulas for long events, and a more comfortable cream formula for daily wear.
- Carry the lipstick: reapply after meals.
- Avoid oily lip balms underneath: they can make lipstick feather.
Common Problems and Fixes
- Feathering: use lip liner, avoid heavy balm, and apply thin coats.
- Lipstick on teeth: use the finger trick described above.
- Dry or flaky lips: exfoliate gently in advance and use a balm under the lipstick. Persistent dryness can have other causes, so ask a doctor or pharmacist if it continues.
- Color looks too bright: blot, press with a finger or mix with a little balm.
- Color looks dull or muddy: try another undertone, or remove foundation from around the lips.
Frequently Asked Questions
What eye makeup goes best with red lipstick?
Keep it simple: neutral shadow, defined lashes and optionally a thin line of liner. Choose either a bold eye or a bold lip, and keep the other one softer.
How do I choose a red lipstick for my skin tone?
Look at your undertone first. Blue-based reds suit cool and neutral undertones, orange-based reds tend to flatter warm undertones, and true reds suit many people. Test in daylight on your lips.
How do I stop red lipstick from bleeding?
Prep with a light balm that is blotted off, outline the lips with a matching liner and apply the lipstick in thin layers, blotting between them. Avoid heavy, oily products around the mouth.
Can I wear red lipstick every day?
Yes. A sheer, stain-like or satin red is easy to wear for daily use. Press it on with a finger for a softer effect, and keep the rest of your makeup minimal.
The Short Version
A good red lip depends on the right undertone, careful prep and a plan for the rest of the face. Pick one focal point, apply in thin layers and keep a mirror and tissue handy. For more looks to build around it, visit our Makeup section.